Understanding Your Apple Watch Model
Identifying the Unique Features of Your Apple Watch
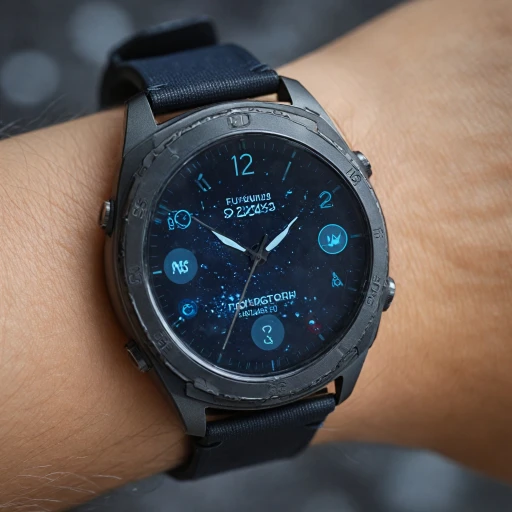
When it comes to changing the band of your Apple Watch, the first step is understanding the specific model you have. This step is crucial, as it will guide you in selecting the compatible straps that fit perfectly and look stylish. The Apple Watch has evolved over the years with different series and variations, such as the Apple Watch Ultra. Thus, recognizing which model you own will simplify the band-changing process immensely. One way to identify your Apple Watch is by checking the watch's back case. The model information is engraved on this part, and it usually mentions the series, the size, and the type of material used. Pay close attention to these details because not all bands are designed to fit every model. For example, a band that's perfect for a 38mm watch face might not fit a 44mm one. Additionally, the watch band price can vary based on the model and materials used, so having the right model in mind helps ensure you are making the best purchase decision. Explore the benefits of Velcro straps for smartwatches to see how versatility and comfort can impact your choice. Your Apple Watch's model also influences the type of release button you will use during the band removal process. The placement and functionality of these buttons might differ slightly depending on the series. For instance, locating the right slot for the band remove action can save you time and prevent any potential mishaps. In summary, knowing your Apple Watch model is essential not only for choosing the right band but also for understanding how the changing process will go. It ensures that the overall experience of customizing your watch is as smooth and seamless as possible.Tools You Will Need
Essential Gear for a Seamless Band Change
When you're ready to change your Apple Watch band, having the right tools on hand is crucial for a smooth process. Whether you're switching it up with a white bracelet or another style, ensuring you have everything prepared will make the task much easier.
- Apple Watch Model: Before you begin, it's important to know the specific model of your watch to ensure compatibility with the bands and tools you're using.
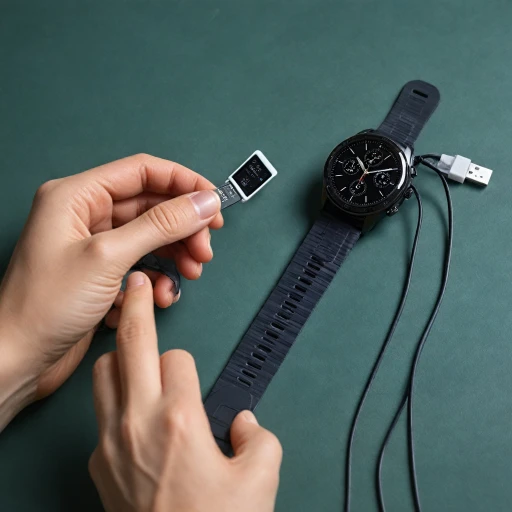
- Spring Bar Tool: Although many Apple Watch bands are designed for easy removal without tools, a spring bar tool can be handy if you encounter a stubborn clasp or spring bar.
- Clean Surface: Lay out a clean, flat surface to work on. This not only protects your watch but also prevents the loss of small parts.
- Microfiber Cloth: Having a microfiber cloth available can help keep your watch clean before and after the band change.
Understanding the nuances of the watch model and having the right tools ensures that the process of removing or adding a new apple watch strap is as smooth as possible. To dive deeper into compatible tools and material options, you might want to explore the world of smartwatch interchangeable wrist bands.
Step-by-Step Guide to Removing the Old Band
Master Techniques for Band Removal
Before you can embark on changing the strap of your Apple Watch, you're going to want to remove the band you currently have. This process is quite straightforward but requires a bit of patience and attention to detail. First, ensure you've familiarized yourself with the tools necessary for the task, as mentioned in a prior section. Holding your watch face down, locate the small, oblong release buttons on the underside of your Apple Watch. These buttons are integral to sliding the band out effortlessly. Press and hold the release button firmly. This action will enable the band to slide out. You might need to apply slightly more pressure if the band does not budge at first. Once the release button is engaged, the band should slide out smoothly without resistance. Repeat this for both sides of the watch. If you hear a click, it's an indication that the button has been fully pressed. During this process, it's crucial to carefully hold the watch to prevent any accidental drops. Whether you have the classic white, ultra sleek, or another model, this method applies universally for anyone looking to change their watch bands effectively. Having successfully completed the band removal, you're now ready to select and install your replacement band, which involves not just preference but also ensuring compatibility with your model and lifestyle. However, if you encounter any difficulties during this process, refer back to previous sections or explore Understanding the Role of the LR44 Battery in Smartwatches for additional insights and tips.Choosing the Right Replacement Band
Picking the Ideal Band for Your Style and Needs
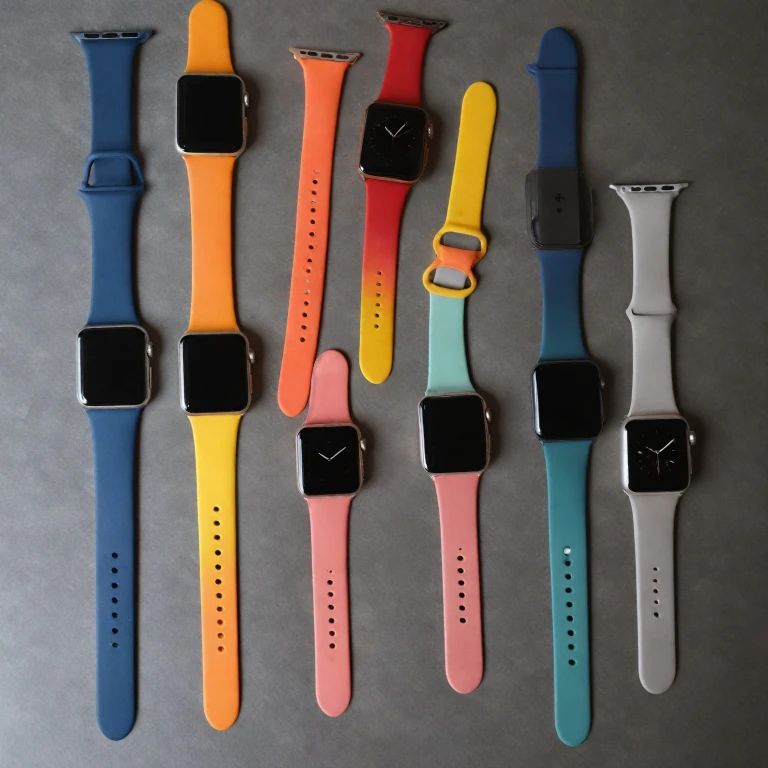
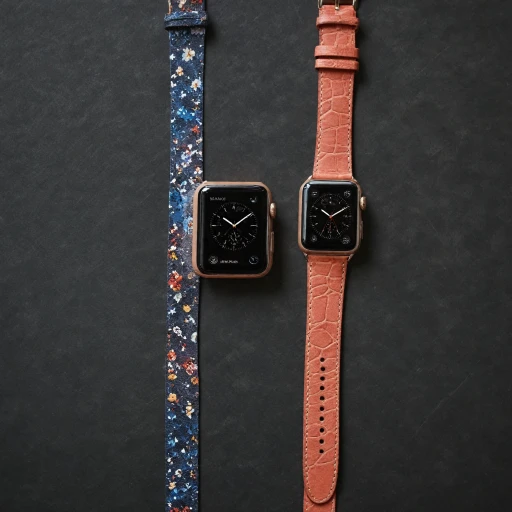
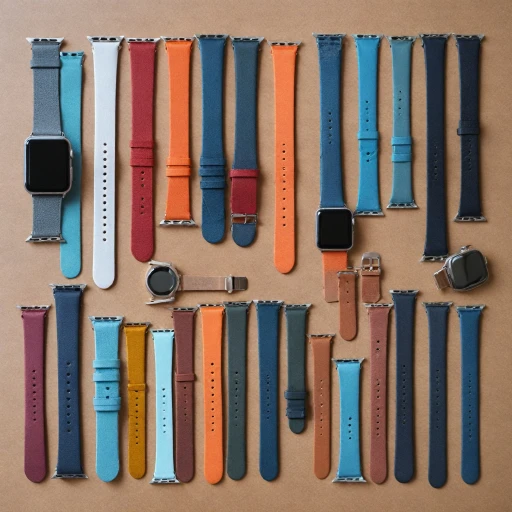
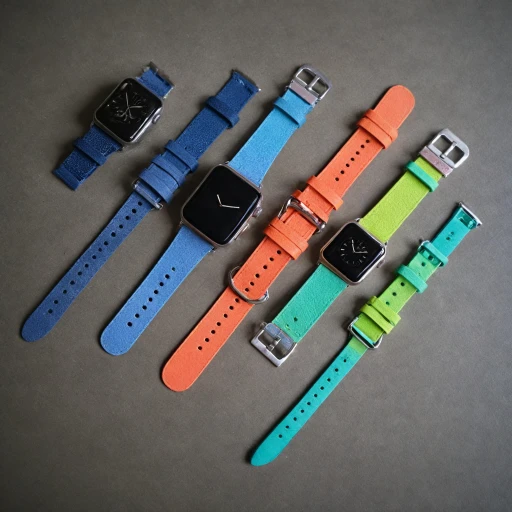
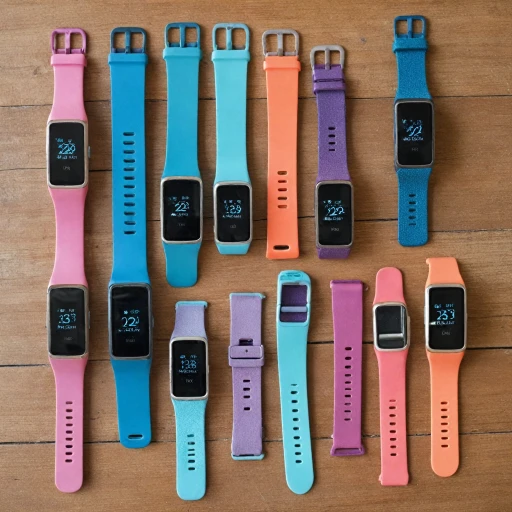
Finding the perfect Apple Watch band is not just about aesthetics; it's about comfort, functionality, and making sure it matches your personal style. With countless options in the market, from sport to leather to metal, selecting the best band can feel overwhelming. Here are some tips to help you choose wisely:- Material Consideration: Decide if you prefer the flexibility of silicone, the elegance of leather, or the durability of a stainless steel bracelet. Each material offers a different feel to your wrist and suits different activities, from workouts to formal events.
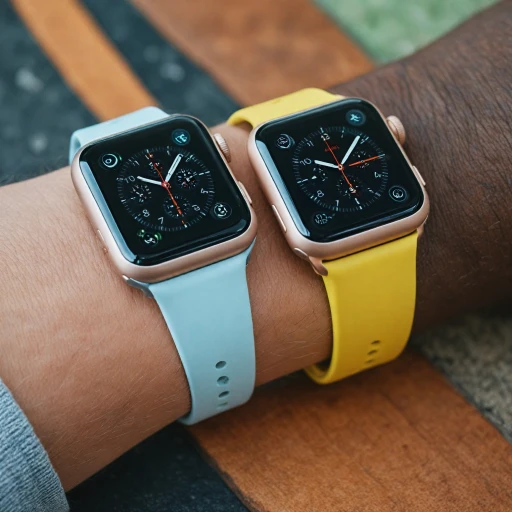
- Color Coordination: Whether you're drawn to a classic white band, a bold color, or a subdued neutral, choosing a color that complements your lifestyle and wardrobe is key. Remember, your Apple watch face can also be customized to match for a cohesive look.
- Price Point: Consider your budget. Bands range from affordable third-party options to pricier genuine Apple releases. Balance your needs against the price to find a band that fits your expectations.
- Functionality and Features: Some bands come with additional features such as a button clasp for easy removal or holes for breathability. Make sure the band you choose fits securely and comfortably on your wrist.
- Activity Alignment: Match your band to your activity level. If you are using your Apple Watch primarily for fitness, a sport band might be more suitable, whereas for professional settings, a leather band may be preferred.
Installing the New Band
Securing the New Band
Once you have successfully removed the old Apple watch band, it’s now time to install the new one. This process can seem a bit daunting, but with a few simple steps, you can secure the new strap and personalize your watch.
Positioning the New Band
Begin by ensuring that the new watch band is in the correct position with respect to the watch face. This means matching the right clasp or buckle with the top of the watch. Most brands provide indicators, such as arrows, to help you align the band correctly. It’s essential to press hold the new band gently and slide it into place until you hear a click, signaling that the band is locked into the watch.
Test the Connection
- Hold the watch and give the band a slight tug to ensure it is securely attached.
- Check if the band release button functions properly by pushing it to see if the band slides out smoothly.
- Be cautious of the slide band mechanism; it should not feel loose or uncertain.
Adjust to Fit
To achieve the best fit, adjust the new watch strap by trying it on your wrist. The Apple watch bands come in various sizes, so make sure the watch strap isn’t too tight or too loose. Feel free to wear it for a few minutes around your wrist to get a sense of comfort and security. If the band feels ill-fitted, consider choosing another size or model.
By following these steps, you can easily change apple watch bands and enjoy your new look. Remember, once you’re comfortable with the installation process, the possibilities for swapping styles are endless!
Troubleshooting Common Issues
Resolving Installment Hiccups
If you've reached the step of putting your new watch strap back in place but encountered an issue, don't worry! Often, these challenges have simple solutions. Here are some common problems and how to tackle them.- The Band Won’t Slide In: Ensure that you're using the correct edge of the band to slide into the watch grooves. The Apple Watch has a unique design; each end of your new watch band is meant for a specific side. Confirm that both the watch and the band are the correct fits for your model.
- Trouble With the Release Button: If pressing the release button doesn’t allow the band to be removed or installed properly, ensure it’s not held down too long or too little. You should press down firmly but gently for an optimal time until you hear the satisfying click.
- The Band Feels Loose: After installation, if your watch band doesn't feel secure, double-check that it was correctly inserted until the lock clicks in place. If this persists, the band may not be compatible with your watch model despite its appearance. Brands often have slight variations in size.

