Understanding Your Apple Watch Band Options
Selecting the Right Apple Watch Band for You
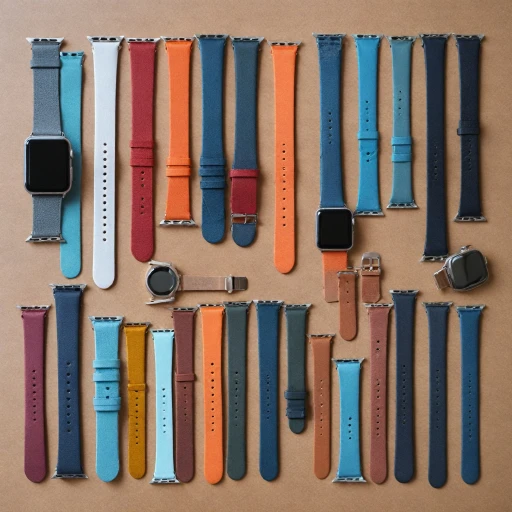
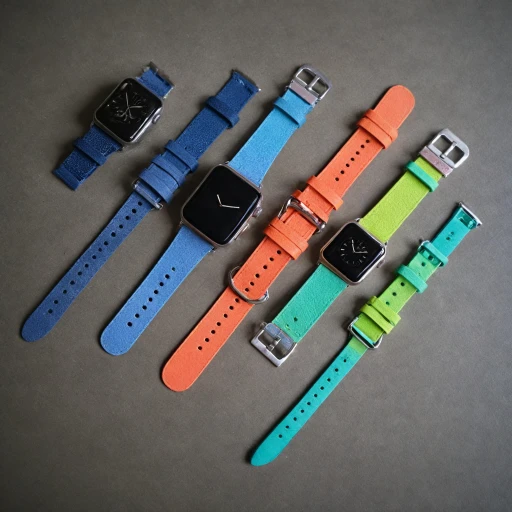
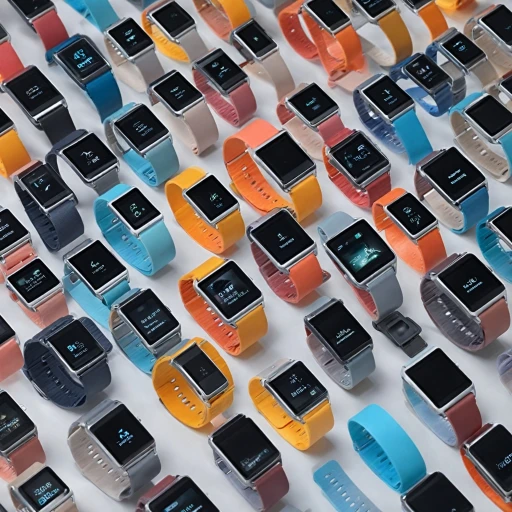
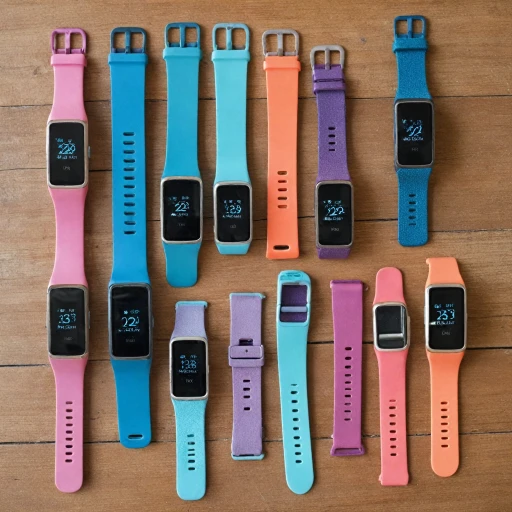
The vast array of options available to Apple Watch users allows for a personalized touch to suit various tastes and needs. Your choice of band, whether it's a solo loop or link bracelet, significantly influences the overall utility and aesthetics of your watch. Here are key points to help you understand your options:
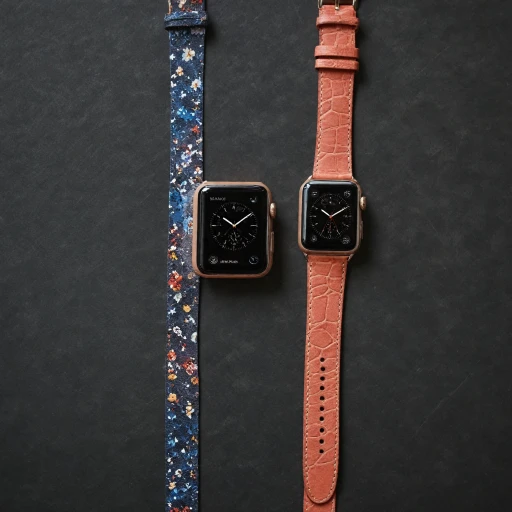
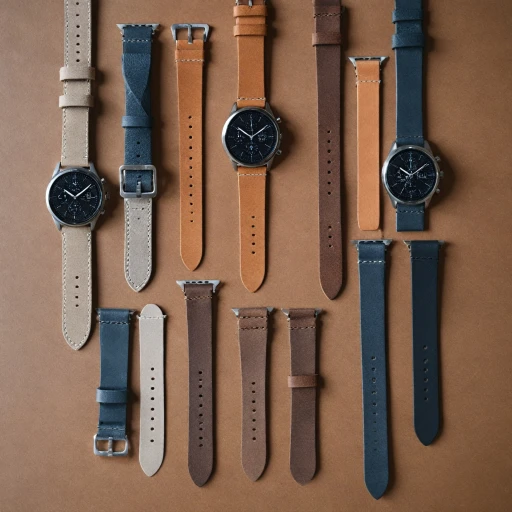
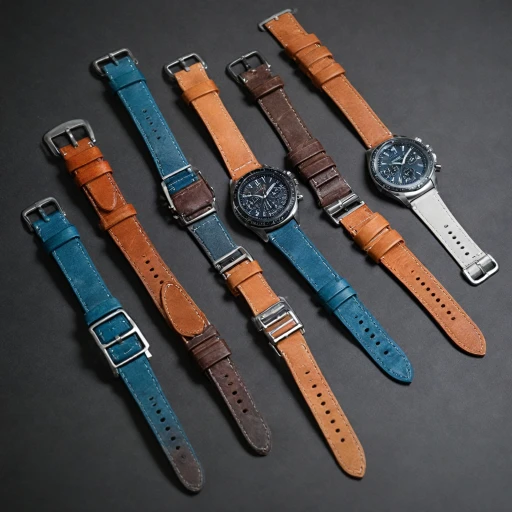
- Material Variety: Apple offers bands in silicone, nylon, leather, and stainless steel among other materials. Each material has its own pros and cons in terms of comfort, durability, and style.
- Design Styles: The design of your band, whether a sporty loop or elegant link bracelet, plays a crucial role in its suitability for different occasions and activities.
- Price Considerations: The price of Apple Watch bands can vary widely, so it's beneficial to align your choice with your budget and desired quality. Some third-party options offer affordability without compromising on style.
- Compatibility: Ensure that the band is compatible with your Apple Watch model. Not all bands fit every watch face size or case type.
Exploring the perfect strap for your smartwatch might help in narrowing down your options. Remember, the right band doesn't just complement your Apple Watch but enhances your overall user experience by catering to your lifestyle and preferences.
Tools You Need to Change Your Apple Watch Band
Gathering Essential Tools
Before you attempt to change your Apple Watch band, it's crucial to gather the necessary tools and components. This makes the entire process smoother and minimizes the risk of accidentally damaging your watch or band.
- Pattern-Free Surface: Ensure you have a clear and soft surface to work on. This prevents scratches on both the watch bands and the watch face.
- Clean Cloth: Use a lint-free cloth to prevent dirt from getting into the band slots and to keep your watch face clean during the change process.
- Apple Watch: Familiarize yourself with the release button which you'll need to push in order to remove the existing band. The band release buttons are sensitive, so gentle pressure is important.
- Quick Release Tool: For link bracelets, have a small quick release tool or a similar device handy to detach links easily if needed.
Each tool plays a unique role in ensuring your Apple Watch band's change is seamless. It's also beneficial to practice releasing the band by pressing the release button until you hear a click, indicating the band's freedom from the watch case. If trying to change Apple devices is new to you, this preparation points out the need for patience in completing the task safely. Ensuring every step is carefully followed will help avoid common issues typically associated with band change attempts.
Step-by-Step Guide to Changing Your Apple Watch Band
Taking the First Steps to Change the Watch Strap
Changing the band of your Apple Watch involves a few precise steps to ensure a smooth transition between styles. Here's a detailed guide to help you switch out your Apple Watch bands with ease.
Slide and Remove: Step-by-Step Process
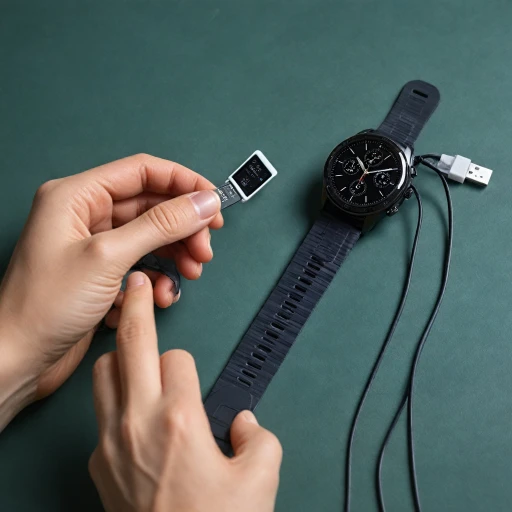
- Locate the Release Button: Turn the watch face down to access the band slot on the back of your watch. Find the band release buttons, positioned at both ends of the watch. These buttons are crucial for releasing the band from the watch body.
- Press and Hold: Use your finger to press and hold the release button while simultaneously sliding the band away. This action will disengage the current band from your Apple Watch without causing any strain on the release mechanism.
- Repeat the Process: For a complete removal of the existing band, repeat the slide motion with the other half of the band. Each section will come off separately, allowing you to fully detach the band.
Connecting the New Band
- Align and Insert: Before connecting the new band, ensure that both the band and watch are free from dust and dirt. Align the new band's connectors with the slots on your watch, gently sliding it until you hear a click.
- Check the Fit: A properly fitted band will slide into place with ease. If you encounter resistance, avoid forcing the band and realign for a smooth insertion. You should be able to hear a satisfying click indicating that the band is securely attached.
Using a Loop or Link Bracelet Effectively
For those using a solo loop or link bracelet, the method is slightly different. These types might require specific instructions, which can be found in the versatile collar guide. This guide offers insights into ensuring the watch band is secured efficiently, preventing accidental slides or dislodges.
Points to Consider After Changing
Once you've completed the band change, take a moment to assess the comfort and fit of your new band. Apple support recommends ensuring that the bands match in terms of size compatibility with your watch, so check that no discomfort occurs during wear.
Troubleshooting Common Issues
Troubleshooting Band Changes: Common Pitfalls and Solutions
Even with a watch as user-friendly as the Apple Watch, attempting to change the band can present a few challenges. This guide should help address common stumbling points so you can enjoy a seamless bracelet switch.- Bands Not Sliding Properly: If your watch bands do not slide smoothly, it's often due to dirt or debris lodged in the watch band's slot or the band itself. Try gently cleaning the slot and the band ends with a soft, lint-free cloth.
- Release Button Sticking: The band's release button won't press? It's common for dirt to accumulate around this area. Pressing the button while lightly jiggling the band can also aid in loosening it.
- Band Not Locking Into Place: After you've slid your chosen strap into the slot, ensure you hear a distinct click. This sound confirms that the band is securely locked. If it doesn’t click, check for any obstructions in the slot.
- Incompatible Bands: Apple Watch's design means not all third-party bands fit perfectly. Verify compatibility, especially when dealing with link bracelets or solo loops. Sometimes, the band and cases might not align well with the watch's face.
- Quick Release Mechanism Issues: For styles like the link bracelet with a quick-release function, ensure all buttons engage fully. Adjusting the link positions by holding and pressing the quick-release buttons should solve the issue.
Exploring Third-Party Band Options
Discovering Various Band Options for Your Apple Watch
While Apple's official watch bands are popular for their design and durability, exploring third-party options can offer variety and customization to your watch-wearing experience. Several third-party manufacturers produce bands that are compatible with different Apple Watch models, including the Watch Ultra and various cases.
Here are some points to consider when opting for third-party bands:
- Price Point: Third-party bands often come at a lower price compared to official Apple bands. This allows users to affordably experiment with different styles or have multiple bands for different occasions.
- Design Variety: You will find an array of materials such as nylon, leather, metal, and silicone, each offering unique textures and aesthetics. Whether you prefer a rugged look with a nylon strap or the elegance of a metal link bracelet, there's something for everyone.
- Customization Flexibility: Many third-party bands include quick release mechanisms, making it simple to slide and change your band without needing additional tools. Simply hold and slide the button to remove or attach a different band, listening for that reassuring click to ensure it's secured properly.
- Compatibility with Apple Support: Ensure that the third-party bands you consider are designed to work seamlessly with your Apple Watch model. Check if they are listed as compatible with your watch face and whether they incorporate features like the solo loop or link bracelet.
Before making a purchase, read user reviews to ensure the band will hold up to everyday wear. This will give you insight into the durability and comfort of the product. In addition, evaluate the return and exchange policies, in case the band does not meet your expectations.
Caring for Your Apple Watch Band
Maintaining Your Apple Watch Band
Ensuring that your Apple Watch band remains in pristine condition requires a bit of care and attention, which ultimately contributes to a longer lifespan and continued comfort.Cleaning Tips for Different Materials
The cleaning method varies depending on the material of your band. Here’s a quick guide:- Silicone and Fluoroelastomer Bands: Use a damp, nonabrasive, lint-free cloth. Avoid harsh chemicals that might degrade the material.
- Leather Bands: Leather is less water-resistant. Clean with a dry cloth and avoid direct exposure to liquids and sweat.
- Metal Bands: Use a soft brush to gently remove particles from the links. A damp cloth can help to remove fingerprints or smudges.
- Textile Bands: These bands can usually be washed by hand with mild soap and water, but check the manufacturer's recommendations.

